You know everyone talks and writes about smart renovations for rental properties and now we have put it to the test. In our last blog post we wrote about how important it is to make smart renovation choices that will heavily impact your rental property, now we’ve proved it. We wrote about our thoughts and decisions on everything from flooring choices to HVAC to windows and paint. You can quickly read about our top biggest choices we make with every rental property in our last blog post. Smart Renovations in Rental Properties
The Somerset property was one of our 2019 Summer projects we helped our clients turn around from a single family home into a realistic multi-unit income producing investment. We have a few before and after pictures of the renovations we did but we don’t think they truly show how much work and thought actually goes into renovation choices for a long term hold.
Property Details
The Somerset property was purchased by our client in June 2019 as a single family home with a small mother-in-law suite built in the basement. The property has six bedrooms with three bathrooms. The basement has an entrance from the garage and was not separated from upstairs. We did an initial walk-through and gave him our thoughts on the cost breakdown. We also made a list of the major renovations that would be needed walking into it and how to maximize the income potential from a single family home with a mother-in-law suite in the basement.
Our renovation goal on this property is simple: Keep costs low and as maintenance free as possible. Every decision we make is to make sure that the owner/landlord has to never come back to the property to fix anything.
Cost Breakdown
Before Renovations - June 2019
- Purchase Price - $343,000
- Renovation Cost - $58,643
- Total Investment - $401,643
After Renovations - August 2019
- Estimated Market Value - $450,000
- Estimated Rent - $2,300
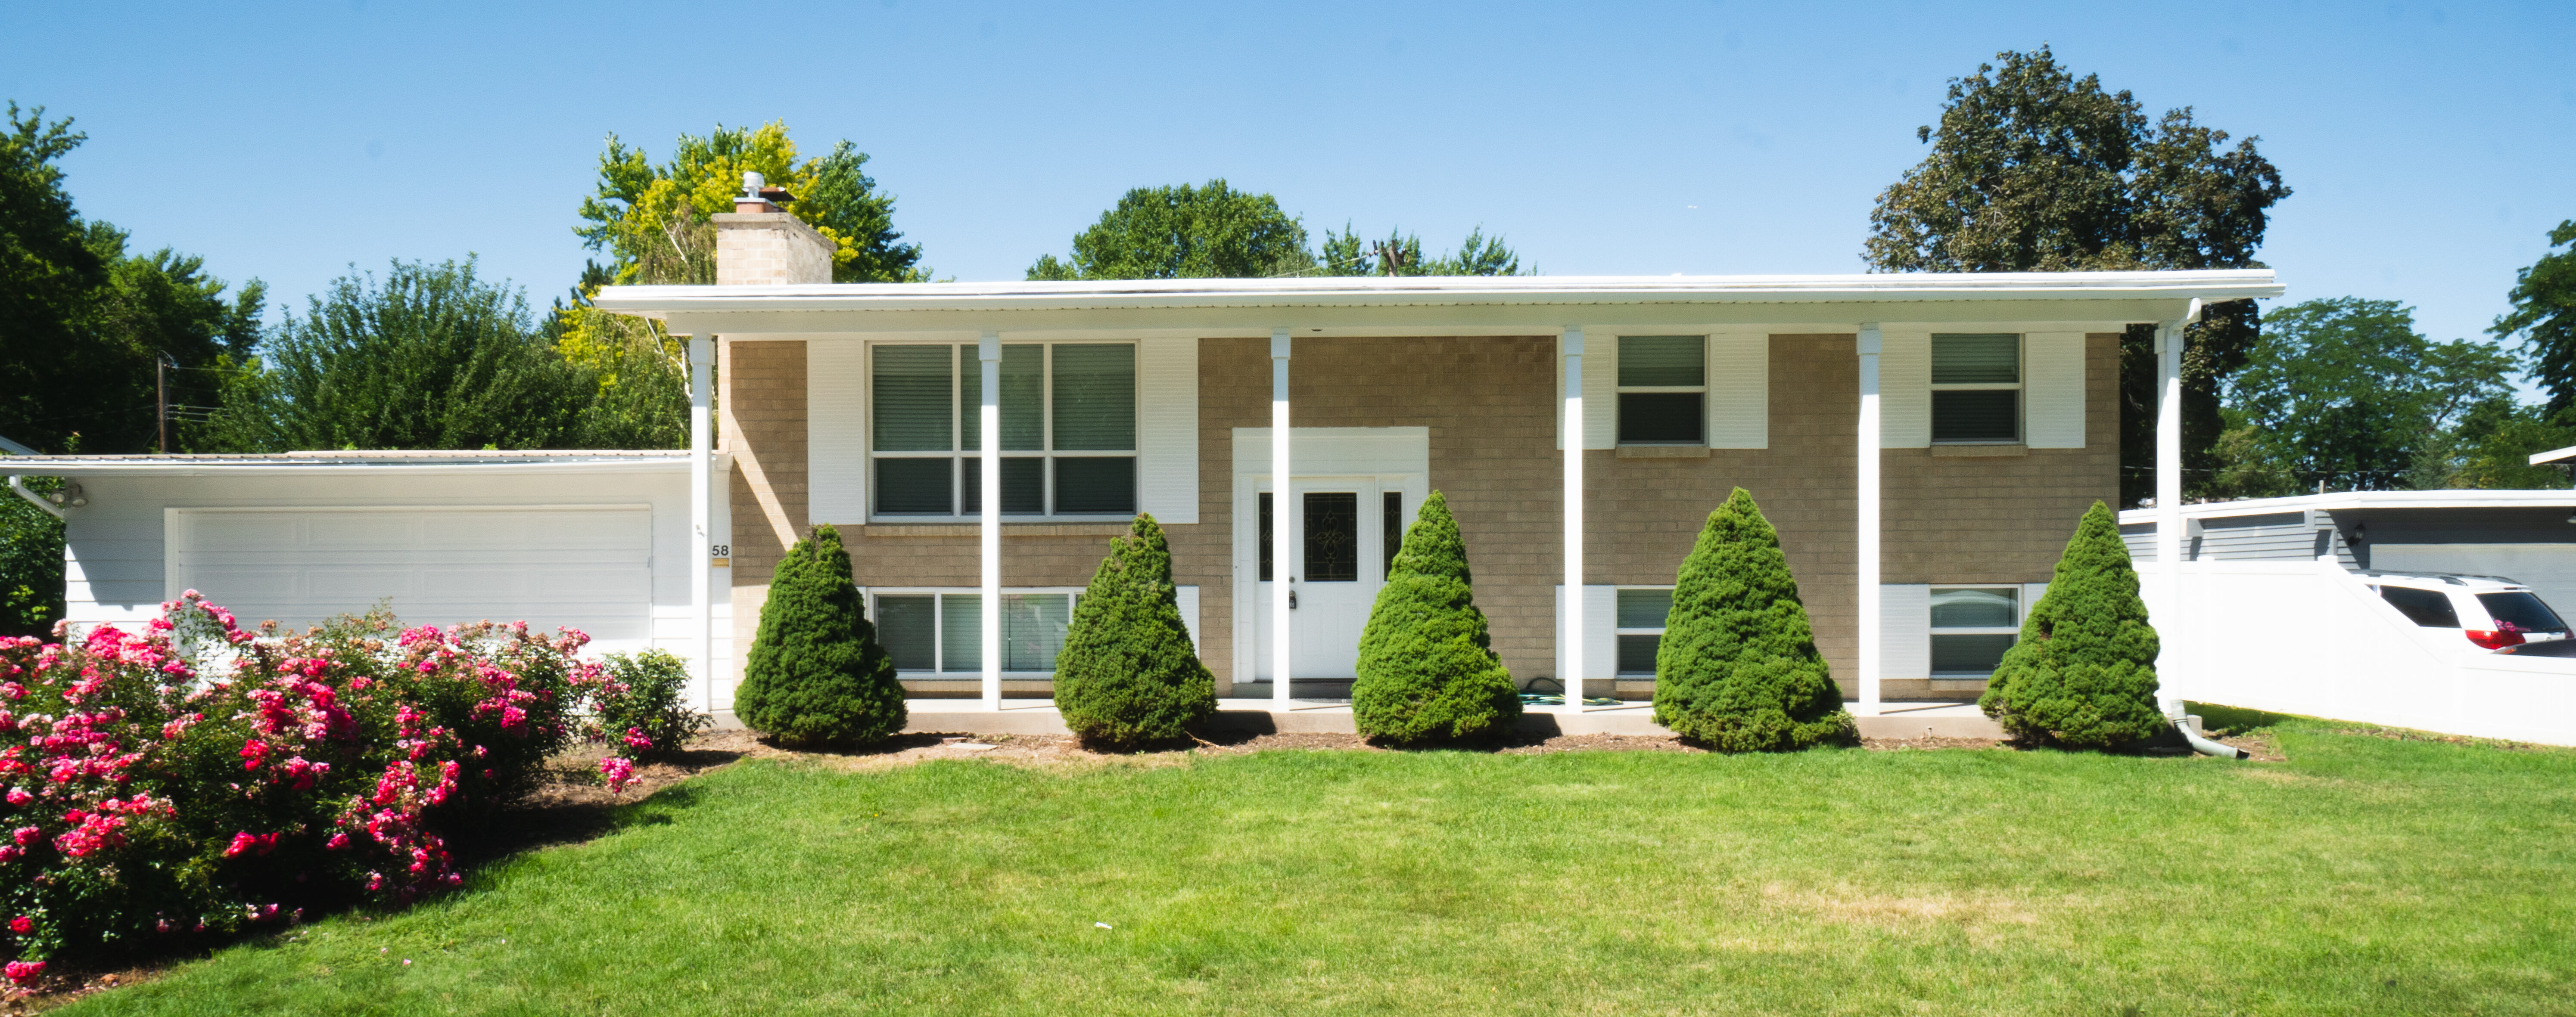
Before Pictures


Initial Walk-Through
After doing our walk-through we could see right off the bat that the home would need a few major repairs. The first thing we could see is that every window in the home would need to be replaced. All of the windows were old single pane aluminum that can’t keep out the cold or heat. Old windows cause energy bills to be high for tenants and simply won’t last another 20 years.
Watch our walk-through video to get a better understanding.
The roof was a definite concern, in one of the upstairs bedrooms the drywall on the ceiling was torn out from what could only be from water damage. That was a huge concern for two reasons; the cost of replacement and the unknown of water damage in other parts of the home we couldn’t actually see.
We made our rounds to the furnace room to check out the heating and cooling situation. The furnace looked to be in good shape and had central heat but was cooled with an old swamp. The one swamp cooler the home did have was upstairs in the hallway so we added the installation of central air to our renovation list to make the home more energy efficient.
The flooring throughout the home was in decent shape, carpet upstairs would be torn out to refinish the hardwood floors and the carpet in the basement would be replaced. Last but not least the kitchen upstairs would need to be completely gutted along with all three bathrooms. We decided the kitchen in the basement was in good shape just needed new appliance and a few small updates.
We got a great assessment of the home from the initial walk-through and put an estimate together for the renovation budget of $50,000 not knowing if the roof would need to be replaced or not.
The First Initial Renovations
In the first initial weeks of renovations we began scheduling all the major repairs with our contractors. The windows throughout were one of the first things to get scheduled and replaced. It took about two days to have them professionally installed after they came out to get measurements place a bid. During that same time we had the HVAC team outside taking the old swamp cooler out to install a brand new AC condenser. They ran coolant lines and electrical to the homes furnace and got the system up and running that week.
The roof had to be inspected, we needed to get clarity on what was going on with the leak to make a decision on how to fix it. It was a huge cost but after consideration of a long term hold with minimal repairs, the homeowner made the decision to replace it. The soffits around the home were in bad shape so we replaced the damaged ones and painted the rest to match.
The start of demolition in the kitchen and bathrooms began as soon as possible. All three bathrooms in the home needed to get gutted to the walls along with the upstairs kitchen. The basement kitchen was in good shape just need some light updates to the cabinets, appliances and it got a good scrub. One of our standards we adhere to with every rental unit is to install fiberglass shower surrounds in the bathrooms. They are durable, budget friendly, and don’t leak like tile. Fiberglass shower surrounds literally help us sleep at night and we recommend them to everyone that asks. Once we quickly got the kitchens and bathrooms pulled out, we needed to measure and ordered cabinets from Midwest 1983 and appliances for install.
Wrapping Up The Last Half
After we made good headway with all the major repairs, it was time to get prepped for paint so we can get the kitchen and bathrooms installed. Trim, doors, flooring and carpet all had to be pulled out or covered for paint and sanding. Walls were patched, sanded and ready for fresh coats of paint. When it comes to paint we keep it basic, usually going with all white semi-gloss unless the homeowner wants something different. A white semi-gloss paint is easy to patch when tenants move in or out or just normal wear and tear. All of the doors in the home were in good shape along with the hardware which helped save on the renovation budget. We sanded and repainted every single door in the home along with the walls and ceilings.
The kitchens and bathrooms went in quickly once the cabinets and countertops arrived. We always install LVP in kitchen and bathrooms from Mountain States. We never go with custom cabinets in a rental, it just doesn’t make financial sense. We installed granite countertops in Somerset but that’s not always the choice. When it comes to countertops we always go with the most durable between granite and quartz but always depends on the price at the time. Price of granite and quartz seems to fluctuate during the year so we go with the better option at the time.
We then shifted our focus from the interior to the exterior. The yard was in good shape, it needed to be mowed and a portion of the sprinkler system was broken and needed to be repaired. We cleared out some thick trees and began watering the grass to bring the life back.
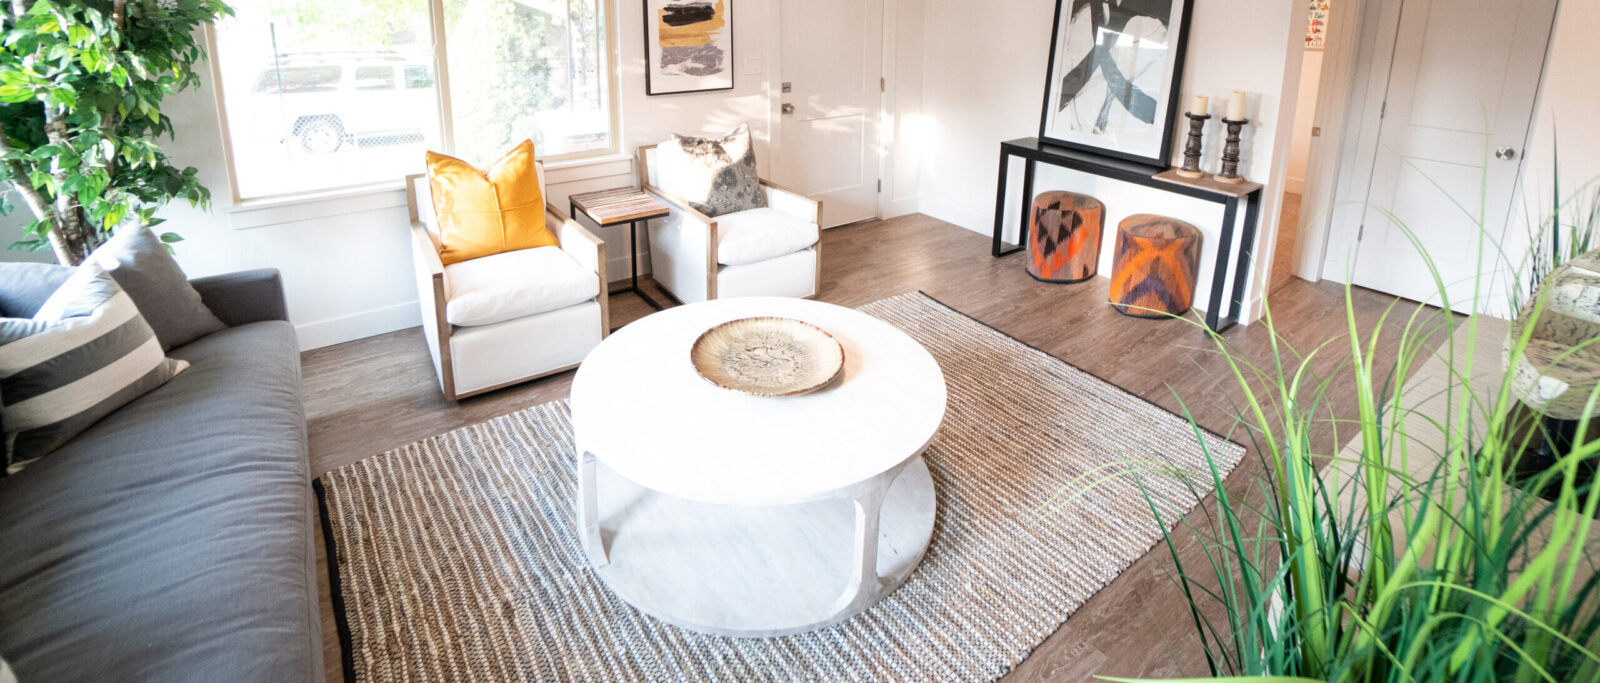
After Pictures


In Conclusion
We were able to finish the entire project in August 2019, just three months after purchase. In the end the project came together quite nicely with just a few speed bumps. Throughout the entire project we worked tirelessly with our client and brought every conversation back to our original goal. We need to keep costs low and make this property as maintenance free as possible. This is a great example of how a rental property in a booming housing market can be bought and turned profitable. This rental property should be nearly maintenance and worry free for another 20 years and bring in constant rent and home ownership benefits for years.


